Cooking Techniques & Skills
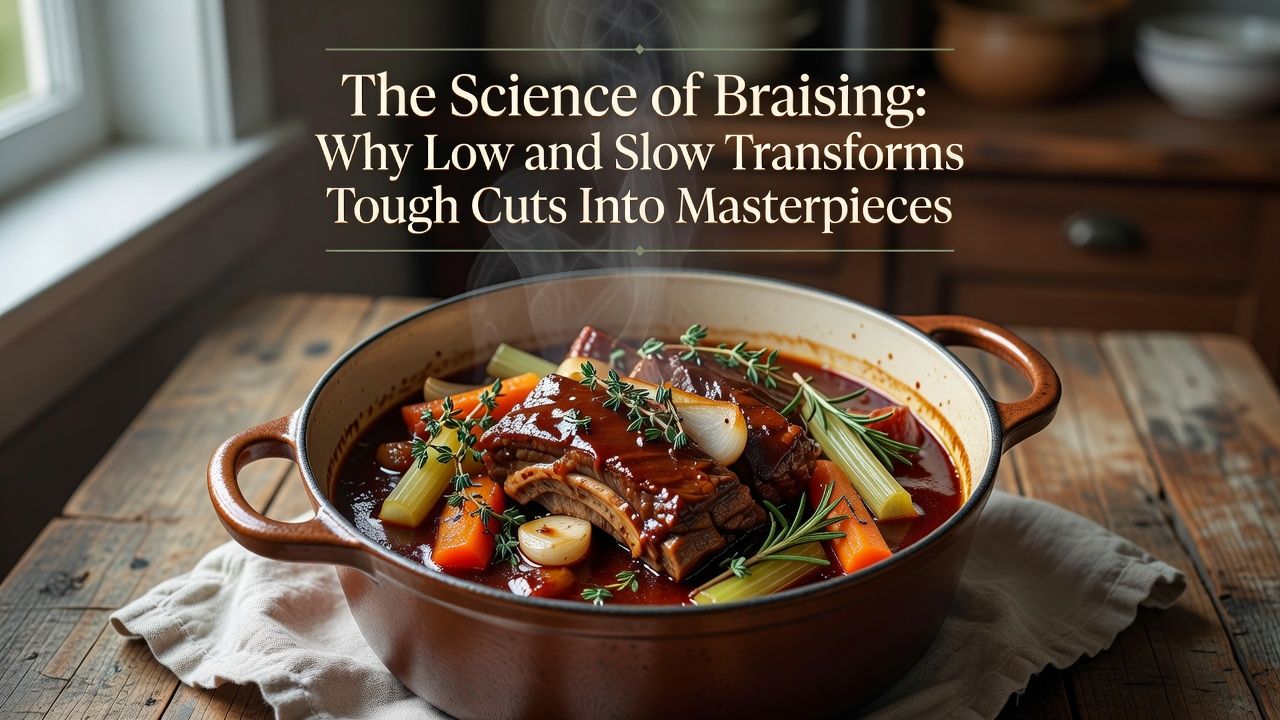
The cheapest cuts make the best braises, and that isn’t a coincidence — it’s collagen chemistry. Here’s what’s happening in the pot, and how to use it.
There is a paradox at the heart of braising that trips up every cook who comes to it from grilling or roasting. Take the finest steak in the shop — a well-marbled ribeye, a tenderloin — and braise it for three hours, and you will produce something dry, stringy, and profoundly disappointing. Take the cut nobody wants, the shin or the shoulder or the oxtail, laced with tough connective tissue and sold for a fraction of the price, and give it the same treatment, and you produce something meltingly tender, deeply savory, and better than the steak ever was. This isn’t culinary folklore or thrift dressed up as virtue. It’s a specific, well-understood chemical transformation, and once you know what it is, you stop following braising recipes and start improvising them.
Braising means cooking in a covered vessel with a modest amount of liquid, at a low temperature, for a long time — usually after browning the surface first. It appears in essentially every cuisine that has ever had to make hardworking animals delicious: French daube and bœuf bourguignon, Italian osso buco and stracotto, Mexican barbacoa and birria, Chinese red-cooked pork, Korean galbi-jjim, Moroccan tagines, American pot roast. The universality is a clue. These traditions didn’t share recipes; they independently discovered the same physical process, because the process works. Understanding it means understanding four interlocking things: what collagen does, what heat does to muscle fiber, what browning contributes, and why the liquid level matters more than almost anyone expects.
Collagen: the whole reason braising exists
Muscles that work hard — legs, shoulders, necks, tails — are bound together by connective tissue, and the main structural protein in that tissue is collagen. In its raw state collagen is arranged in tough, tightly wound triple helices, which is exactly why these cuts are chewy if you cook them quickly. Sear a piece of beef shin like a steak and the collagen simply tightens, squeezing the meat and making it tougher than when you started. Nothing you do at high speed will fix this.
But collagen has a remarkable property: held in the presence of moisture at temperatures above roughly 70 °C, those helices gradually unwind and hydrolyze into gelatin. This conversion is slow — it is a function of both temperature and time, which is why “low and slow” is not a poetic phrase but a literal instruction — and it changes everything about the eating experience. Gelatin is soluble, silky, and moisture-retaining. It dissolves into the surrounding liquid, giving braising sauces their characteristic body and glossy lip-coating richness without any added thickener at all. It also lubricates the meat fibers themselves, which is why properly braised shoulder feels succulent even though it has, technically, lost a great deal of water. The cuts with the most connective tissue therefore have the most to gain, and the tender cuts — which have almost none — have nothing to gain and everything to lose.
| Cut | Why it braises well | Rough time at 150 °C |
|---|---|---|
| Beef shin / shank | Very high collagen; produces the richest, most gelatinous sauce | 3–4 hours |
| Beef chuck / shoulder | Good collagen plus intramuscular fat; the reliable all-rounder | 2.5–3.5 hours |
| Oxtail | Bone, marrow and collagen together — exceptional body | 3–4 hours |
| Pork shoulder / butt | Fat and collagen in balance; very forgiving of overcooking | 3–4 hours |
| Lamb shoulder / shank | Strong flavor that stands up to long aromatics | 2.5–3.5 hours |
| Chicken thighs | Enough connective tissue to stay moist; the fast option | 40–60 minutes |
The tug-of-war: fibers tighten while collagen melts
Here is the complication that explains most braising failures. While collagen is slowly converting to gelatin, the muscle fibers themselves are doing the opposite: as they heat, their proteins denature and contract, squeezing out moisture. By the time a braise is finished, the meat has typically lost a substantial share of its original water. Braising is therefore a race — you need enough time at temperature to convert the collagen, but every extra minute is also drying the fibers. Perfect braising is the point at which those two curves cross most favorably.
This is precisely why temperature control matters so much. A braise that boils vigorously is not cooking faster in any useful sense — it’s driving the fiber contraction hard while gaining relatively little on the collagen front, and the result is meat that shreds into dry, stringy threads even though it’s technically “tender.” A gentle braise, where the liquid barely trembles and you see only an occasional lazy bubble, gives collagen the long window it needs while treating the fibers as kindly as possible. In practice this means an oven at around 135–160 °C rather than a stovetop simmer, because the oven surrounds the pot with even, moderate heat instead of blasting the base. If you must braise on the stove, use the lowest setting that maintains movement and a heat diffuser if you have one.
The doneness test that actually works
Forget the clock and forget the thermometer. A braise is done when a skewer or paring knife slides into the thickest part and out again with no resistance at all — not “some” resistance, none. If it grips even slightly, put the lid back on and give it another thirty minutes. Braises are remarkably forgiving of extra time and completely unforgiving of being pulled early.
Why you brown first: the Maillard reaction
Searing meat before braising does not, despite the persistent myth, “seal in the juices” — no crust is waterproof, and browned meat loses moisture at much the same rate. What browning actually does is create flavor that cannot be produced any other way. At surface temperatures well above the boiling point of water, amino acids and reducing sugars undergo the Maillard reaction, a cascade of chemistry that generates hundreds of new aromatic compounds responsible for the roasted, meaty, deeply savory character we associate with browned food. Because the interior of a braise never exceeds the boiling point of its liquid, none of this can happen once the pot is closed. Whatever browning you want, you have to build before the liquid goes in.
Doing it properly requires patience that most cooks don’t give it. Dry the meat thoroughly with paper towels — surface water must evaporate before browning can begin, and wet meat steams instead. Use a heavy pan, get it genuinely hot, and work in batches with space between the pieces; crowding drops the pan temperature and traps steam, and you’ll end up with grey meat and a wasted twenty minutes. Aim for a deep mahogany crust rather than a timid tan. Then brown the aromatics in the same fat, and — crucially — deglaze: add wine, stock, or even water and scrape up the browned fond stuck to the pan bottom. That fond is concentrated Maillard product, and leaving it behind throws away most of what you just made. The same chemistry underlies flavor development across countless cooking processes, and it’s a staple topic in the food-science literature published by bodies such as the Institute of Food Technologists and the American Chemical Society.
Liquid level: less than you think
A braise is not a stew, and the difference is the liquid. Stewing submerges small pieces completely; braising uses large pieces sitting in liquid that comes perhaps halfway to two-thirds up the sides. This is not a stylistic quirk. Everything above the waterline cooks in the trapped steam under the lid, which is more than hot enough, while the exposed surfaces continue to brown gently and concentrate. Just as importantly, less liquid means a more concentrated sauce at the end — a braise drowned in stock will taste diluted no matter how good the ingredients were, and no amount of late reduction fully recovers it.
| Method | Liquid | Piece size | Result |
|---|---|---|---|
| Braise | Halfway up | Large, whole | Concentrated sauce, sliceable meat |
| Stew | Fully covered | Cubed | Brothier, spoonable, one-pot meal |
| Pot roast | Shallow | One large joint | A braise by another name |
| Confit | Submerged in fat | Portions | No moisture loss to water; very rich |
Choose the vessel accordingly. A heavy pot with a tight lid — enameled cast iron is the classic for good reason — holds temperature steadily and returns condensing steam to the pot. The pot should also fit the food reasonably snugly; too large and you’ll be forced to add extra liquid just to reach the right level, diluting everything. A sheet of parchment pressed onto the surface under the lid (a cartouche) is a useful trick when your pot is slightly too big.
Finishing, resting, and the overnight trick
When the meat is finally tender, the sauce is usually not yet where it should be. Lift the meat out and keep it warm, then assess the liquid: if it’s thin, reduce it hard until it coats a spoon, letting the dissolved gelatin do most of the thickening work for you. Skim the fat that rises — a braise with a slick of grease on top tastes heavy no matter how well made. Then taste and adjust with the two things long cooking dulls: salt, and acid. A squeeze of vinegar, lemon, or a splash of wine at the very end wakes up a braise that tastes flat and muddy, and it is astonishing how often this single addition is the difference between “fine” and “excellent.” Fresh herbs stirred in off the heat do similar work.
The most valuable piece of practical advice, though, is to make braises a day ahead. Cooled overnight in their liquid, the meat reabsorbs moisture and the flavors integrate in a way that genuinely improves the dish — this is one of the rare cases where “better the next day” is not sentimentality. It also makes fat removal trivial, since it solidifies on the surface and lifts off in a sheet. Cool the braise promptly rather than leaving it on the counter for hours, refrigerate it, and reheat gently to serving temperature; the USDA’s Food Safety and Inspection Service publishes clear guidance on safe cooling and reheating of cooked meat dishes, which is worth following for anything you’re storing.
What braising ultimately teaches is a different relationship with time. Almost every other technique rewards attention and precision in the moment; braising rewards patience and then leaves you alone for three hours. It also quietly rewards thrift, turning the cuts that industrial food culture has taught us to overlook into the dishes people remember longest. Learn the chemistry — collagen becoming gelatin, fibers contracting, Maillard building flavor that the pot itself can never make — and you no longer need a recipe. You need a tough cut, a heavy pot, some liquid, a low oven, and the willingness to leave it alone until a skewer slides through without the slightest complaint.
Leave a Reply